Last updated on November 28th, 2015 at 03:58 pm
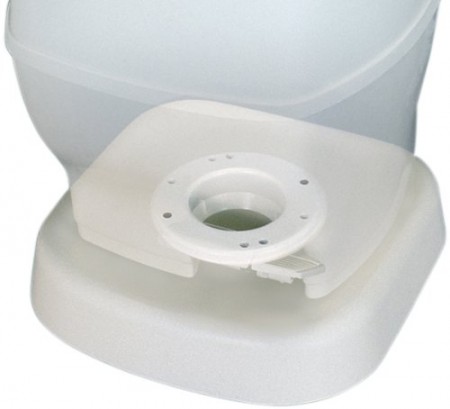
The kit contains longer bolts, new nuts and two flange seals in addition to the riser which will lift your toilet 2.5 inches. It is not a difficult job …not even in the tiny second bathroom in our 5er… I just got my “narrow” son to do it. He definitely fit in the small space better than I would have.
Installing Thetford Toilet Riser Kit
Follow the instructions that come with the kit, but simplified they are:
- Check the water supply line. The toilet will be 2.5″ for higher and you may have to increase the length of the supply to reach the additional 2.5″. Ours did. See our article on RV Pluming Repair.
- Shut off the water to the RV, drain the toilet and disconnect the supply line. Remove the nuts that secure the toilet to the floor. Lift the toilet up and off the bolts. Clean the base and the flange area and set the toilet aside on newspapers or rags.
- Put the seals in place. Install the long bolts. Position the riser over the bolts. You may need to make a hole in the riser for the waterline.
- Slide toilet down over the bolts and tighten the nuts until the toilet feels secure.
- Check supply line connection once more before turning RV water on. With water on, check for leaks.
If your toilet has a leaking supply valve or flush valve you should make sure you have the parts on had to do those repairs while the toilet already removed.
