
Last updated on January 16th, 2020 at 09:43 pm
Barker Auto-Drain Waste Dump Valve Review
If you have a hard-to-reach waste dump valve on your RV I think you may be interested in the Barker Auto-Drain waste dump valve actuator.
I’ve already written about my own hard-to-reach RV waste dump valve and how I used a DrainMaster RV waste valve as part of the solution. Well, after many years of service I recently had to replace the DrainMaster.
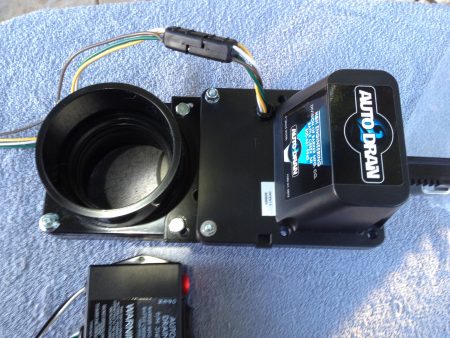
I chose to replace it with a Barker Auto-Drain. I have no complaints against the Drain Master, I just wanted to try the Auto-Drain.
Like the DrainMaster, the Barker Auto-Drain allows you to open and close the valve remotely with the push of a switch.
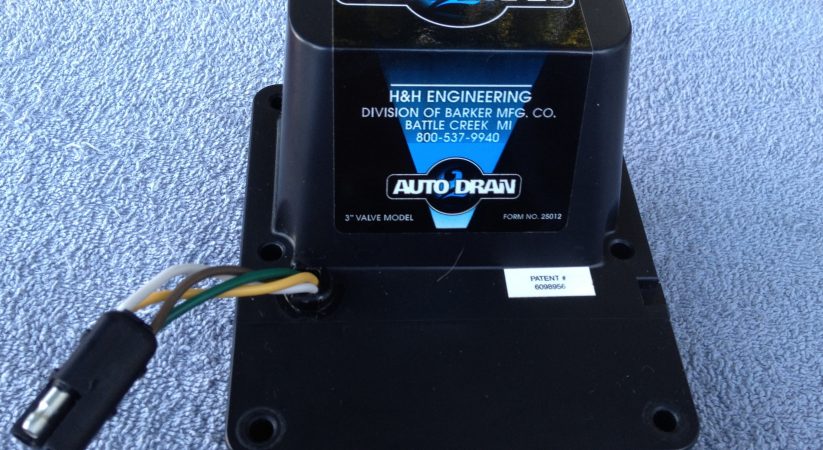
Unlike the DrainMaster, which is a complete valve replacement, the Auto-Drain, is a 12-volt geared motor unit that attaches to a standard Valtera type RV waste dump valve. Two models are available to fit 3” RV waste valves and 1.5” RV waste valves.
The Auto-Drain kit includes the geared motor power unit, switch assembly with about six feet of cable, mounting bracket, hardware for attaching the motor rack gear to the valve slide rod and printed instructions. Also included is a warranty registration card.
Since I was replacing the DrainMaster I had to install a new valve too. You may need to replace your RV waste dump valve too but if it is working well, then count yourself lucky. Attaching the Auto-Drain to and installed RV waste dump valve is about as easy as it gets.
Installing the Barker Auto-Drain
Installing the Auto-Drain power unit on the valve is simple and requires just a few hand tools. You’ll need:
- 2 X 7/16” wrenches to remove the valve bolts.
- 3/8” wrench to fit the supplied nuts for mounting the motor unit.
- 5/32” allen wrench to fit the supplied cap screws for the mounting motor unit.
- Philips screwdriver.
- Wire cutters.
- Wire crimp tool.
Of course you will want to follow the complete installation instructions supplied with the kit, but I’ll give you an overview. ( Get full Auto-Drain instructions in PDF. )
- Remove the T-handle from the valve slide rod.
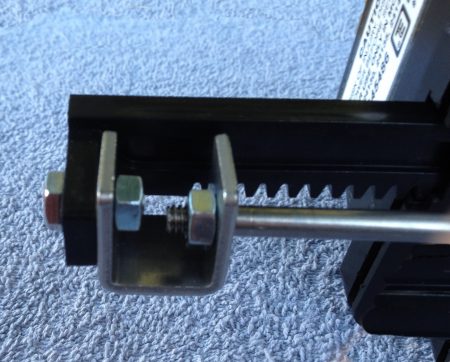
- Attach supplied hardware to valve slide rod.
- Remove the two bolts nearest the valve handle and attach the supplied bracket to the valve flange.
- Set the motor unit in place and attach it to the bracket with the supplied machine cap bolts and nuts.
- Attach the motor unit rack gear arm to the valve slide rod with supplied hardware.
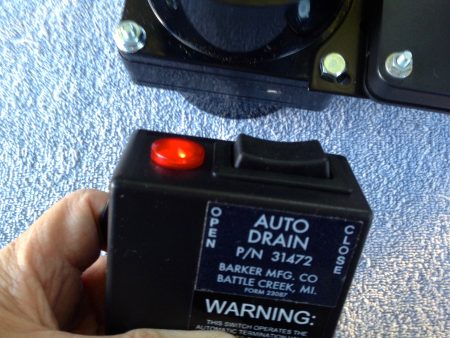
- Install the switch unit in a compartment near the waste valve and run cable to motor unit.
- Connect 12v power to switch.
Running cable and mounting the Auto-Drain switch.
I already had power and a remote switch from the DrainMaster installation but I remember it took me a good afternoon of work to run the wiring. A lot of that time involved dropping the plastic panels that inclosed the underside of the RV in order to get access, then replacing them when the job was done.
Running wires from the waste dump valve near the front of the 5th wheel back went fast.
Then more time spent as I drilled a hole in the floor and fished the wires up into an inside cabinet to pick up 12 volts. Still inside and more time consuming, I fished the wires between the shower pan and the wall to the where the switch would be mounted on the outside of the wall on the side of the RV.
Of course every RV is different so the routing of cables can be simple, if you are lucky, or more time consuming like mine was.
What I like about the Barker Auto-Drain
The Auto-Drain has plenty of power to open and close the valve.
While the red light will tell you the valve is open, it is reassuring that I can actually hear the power unit working.
I like the concept of attaching a power unit to a standard RV waste dump valve. A valve can be replaced for about $20 rather than replacing an entire electric powered valve for around $100.
It should be noted that I selected and purchased the Barker Auto-Drain on my own. I was not contacted by the company and did not receive compensation of any kind.
Empty holding tanks with the press of a switch!
Eliminates bending, reaching and straining to open the waste valve on your RV. Attach the hose and press the switch to drain your tank. An LED indicator shows when valve is open, to avoid accidental leaks and spills.
Easily attaches to your manual valve. Draws less than 2.5 amps of 12-volt power during operation. Opens and closes in about 2 seconds. Manual override if power fails. Fully sealed motor. Made of aluminum, stainless steel and ABS plastic, so it will not rust or corrode. Includes switch with LED indicator and label for mounting near valve. Barker 3″ Auto Drain RV Waste Valve




How do you do a manual override?
Unbolt the rack gear from the valve rod and push or pull the rod manually. You can reattach the valve rod handle to restore the valve to normal operation.
I have one on my gray tank. The position of the valve made it really difficult to open and close but this does the trick. So far, there’s no issues with it.
Is there a way to make the switch smaller. Like how the other companies make it so it can be mounted where the rv slide buttons are and looks seemless.
Andrew: Yes you can. The included ‘switch’ is just a small switch and LED indicator inside a box that accommodates the wiring connections. If you are handy it would be simple enough to substitute your own switch.
can you run two valve motor at the same time with one switch